

Blog
Step-by-Step Guide to Setting Up a Terrace Garden

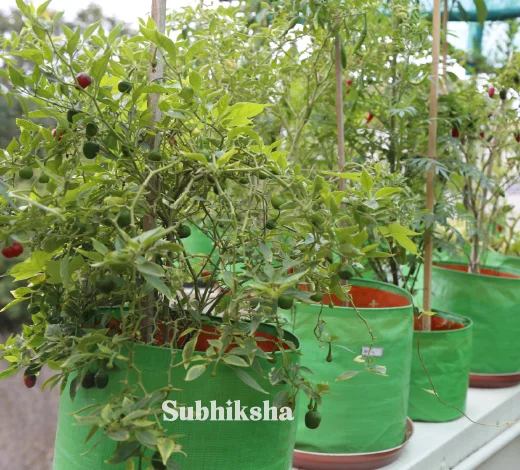
Setting up a terrace garden requires proper structural planning, waterproof drainage, lightweight soil preparation, and appropriate container selection to ensure long-term success without damaging your building.
Step 1: Check Structural Safety & Waterproofing
Before placing heavy objects on your rooftop, verify that your terrace slab can handle the load and is fully protected against moisture.
-
Load Capacity: Place heavy containers near structural load-bearing walls or beams rather than in the center of open slab spans.
-
Waterproofing Layer: Ensure the terrace floor has a functional waterproof coating or rubber membrane to prevent seepage into the ceiling below.
-
Slope & Drainage Outlets: Confirm that the terrace floor slopes correctly toward the rainwater drainage outlets so water does not accumulate under pots.
Step 2: Install Drain Cells & Protection Mats
Direct contact between wet containers and the concrete floor causes dampness and structural deterioration over time.
-
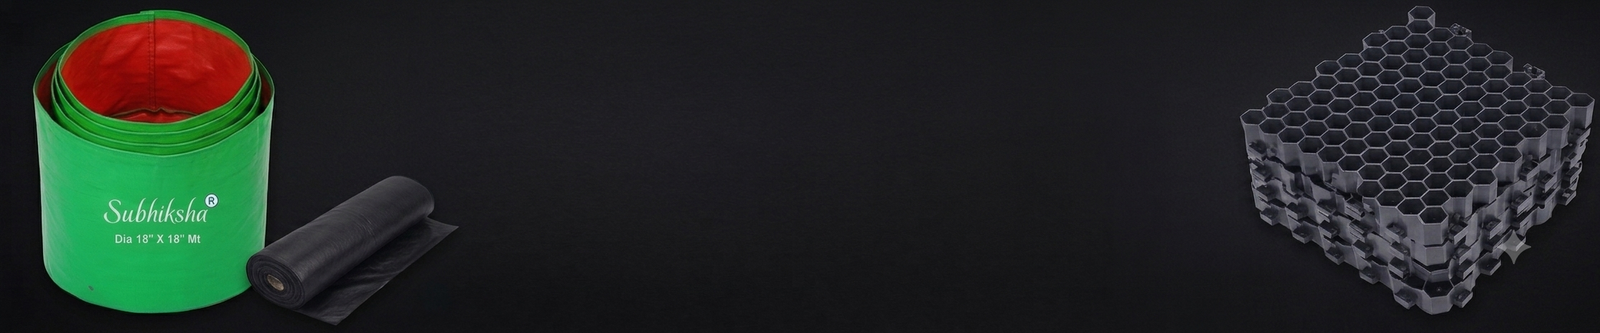
Lay Drain Cells: Place 20 MM or 30 MM HDPE Drain Cells across the area where you intend to position your grow bags and containers.
-
Benefits: Drain cell mats create a permanent air gap between the grow bags and the roof surface, allowing excess water to flow freely to the main drain without staining or damaging the floor slab.
Step 3: Choose the Right Containers
Container choice impacts root temperature, soil moisture retention, and overall terrace weight.
-
Grow Bags: Use 200 GSM UV-stabilized HDPE grow bags for maximum durability under direct sunlight. They are lightweight, breathable, and prevent root binding through natural air pruning.
-
Selecting Sizes:
-
18″ x 8″ / 18″ x 9″: Leafy greens (spinach, coriander, mint) and shallow root vegetables.
-
18″ x 12″ / 15″ x 15″: Heavy-feeders like tomatoes, chilies, eggplants, and capsicums.
-
15″ x 18″ / 24″ x 24″: Deep root crops, climbing vines, and small fruit trees (lemon, guava).
-
Step 4: Prepare a Lightweight Potting Mix
Standard garden soil becomes extremely dense and heavy when wet, which can stress the roof structure and suffocate plant roots.
-
Recommended Mix Ratio:
-
40% Cocopeat: Retains moisture while keeping the overall weight minimal.
-
30% Organic Compost: Vermicompost or well-rotted cow manure for essential nutrients.
-
20% Topsoil / Garden Soil: Provides physical structure and minerals.
-
10% Perlite or Rice Husk: Enhances aeration and prevents soil compaction.
-
-
Additives: Mix in neem cake powder and bone meal to deter soil-borne pests and support early root development.
Step 5: Arrange Plants Based on Sunlight Needs
Plan your terrace layout according to the direction and duration of sunlight exposure.
-
Full Sun (6–8 hours): Position fruiting plants (tomatoes, peppers), gourds, and flowering varieties in open areas receiving direct sunlight.
-
Partial Sun / Shade (3–4 hours): Place leafy greens, herbs, and delicate crops along walls or under shade nets to prevent leaf scorching during peak afternoon heat.
-
Vertical Space: Utilize trellises, wooden frames, or terrace railings for climbing vines like cucumbers, ridge gourds, and bitter gourds to save floor space.
Step 6: Irrigation & Daily Maintenance
Terrace containers dry out faster than ground soil due to elevated wind speeds and high sun exposure.
-
Watering Schedule: Water deeply early in the morning or late in the evening. Avoid mid-day watering to prevent soil temperature spikes.
-
Mulching: Cover the top layer of soil in grow bags with dry leaves, sugarcane bagasse, or coco chips to reduce water evaporation.
-
Pest Control: Spray neem oil solution diluted with mild soap every 15 days as a preventative measure against common garden pests like aphids and mealybugs.